Adding the SSIS Projects extension to the Visual Studio 2019
When Visual Studio is opened, we click on “Continue without code” to add the necessary extension:
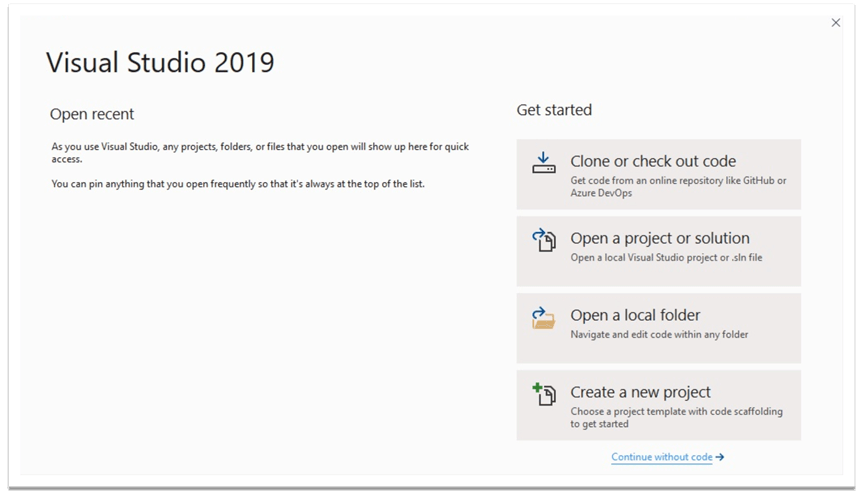
In this window, we click on “Extensions” > “Manage Extensions”:

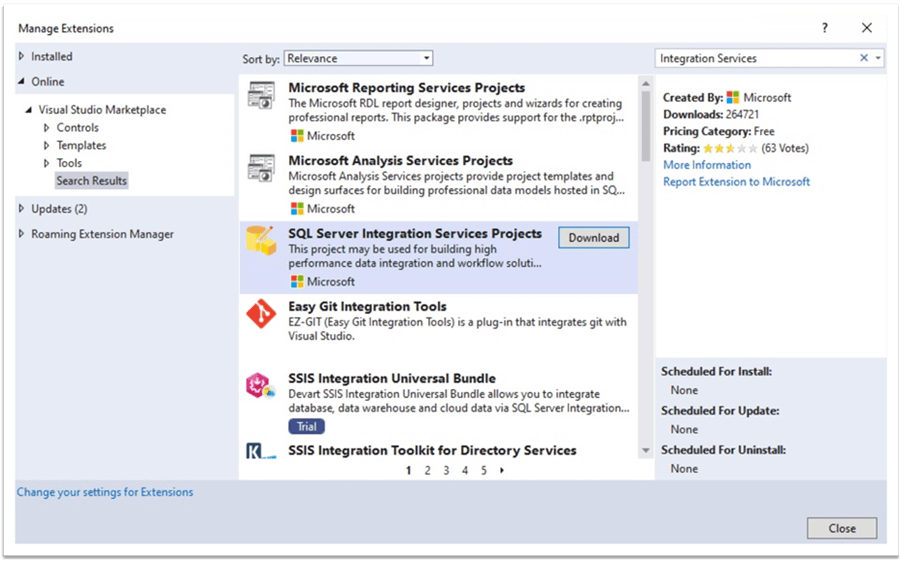
In the search bar of the opened window, we type “Integration Services” to easily locate the extension. From the appeared list we choose “SQL Server Integration Services Projects” and press “Download”:
Then, we will execute the downloaded .exe file:

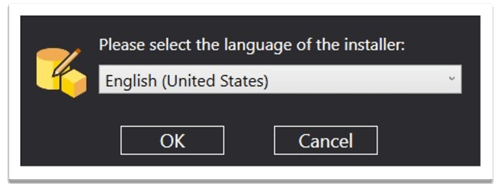
The installation of the extension begins. Now, we will follow some simple steps. In the next window we click “OK”:
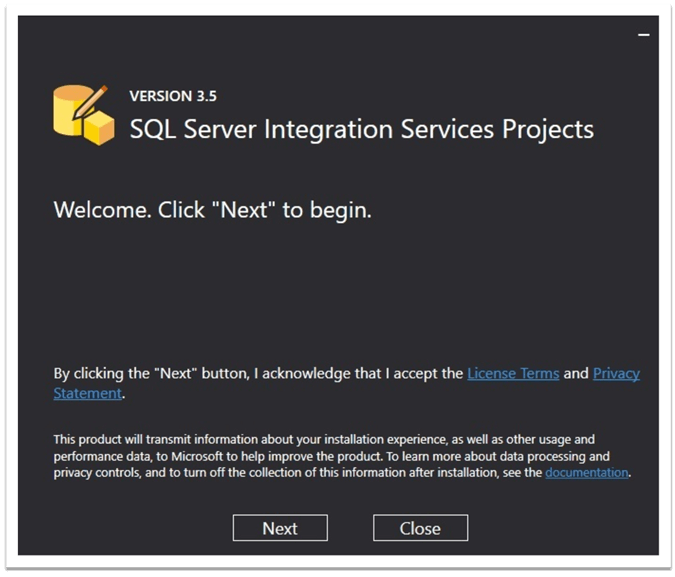
After that, we click “Next” to continue:
If you receive the following message, you probably have SQL Server Management Studio opened:
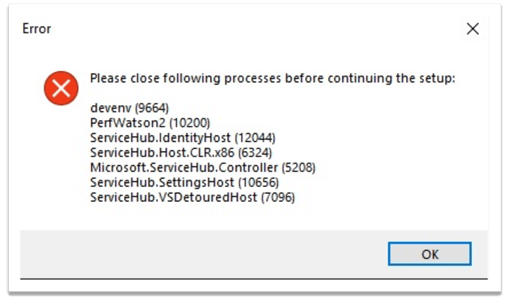
Close it and click “OK”. The process should continue:
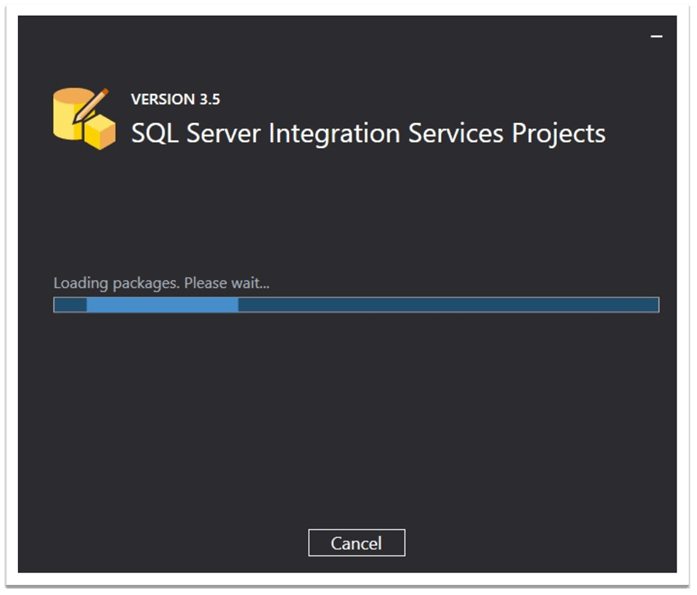
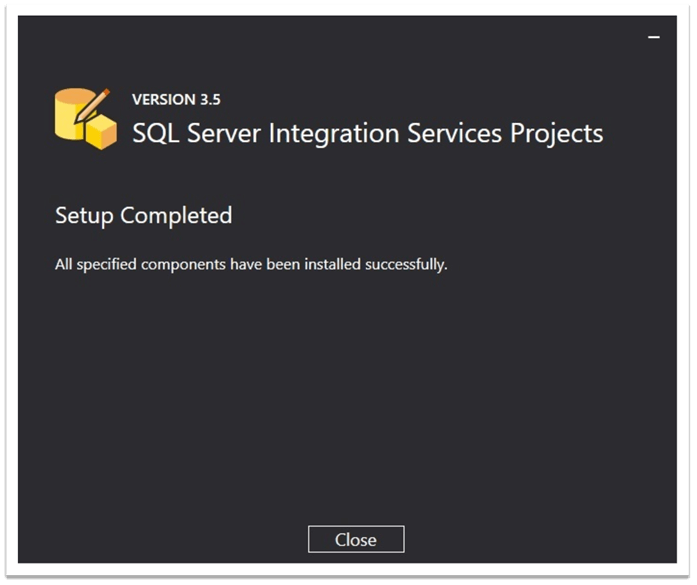
Finally, the setup is completed and we have our extension installed:
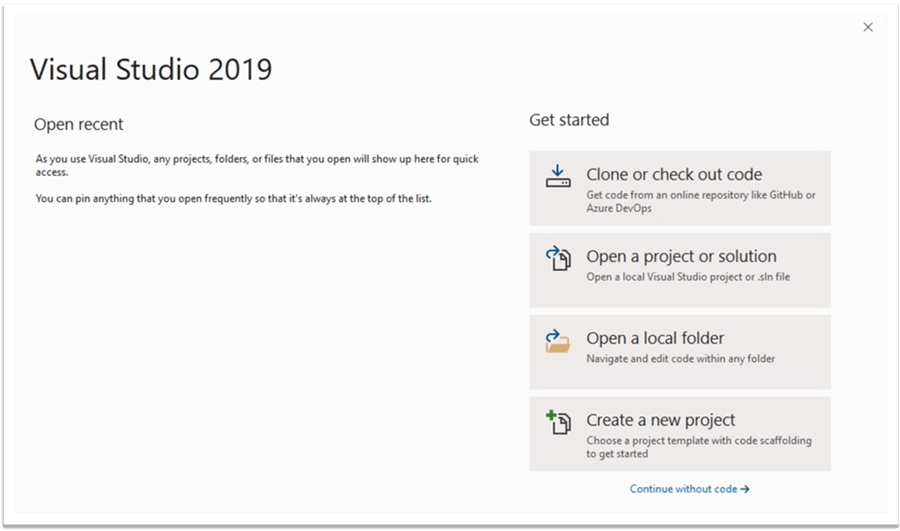
Now, we are ready to create Integration Services projects. In Visual Studio, we choose “Create a new project”:
In the next window, we type “integration” to find “Integration Services Project” and click on it:
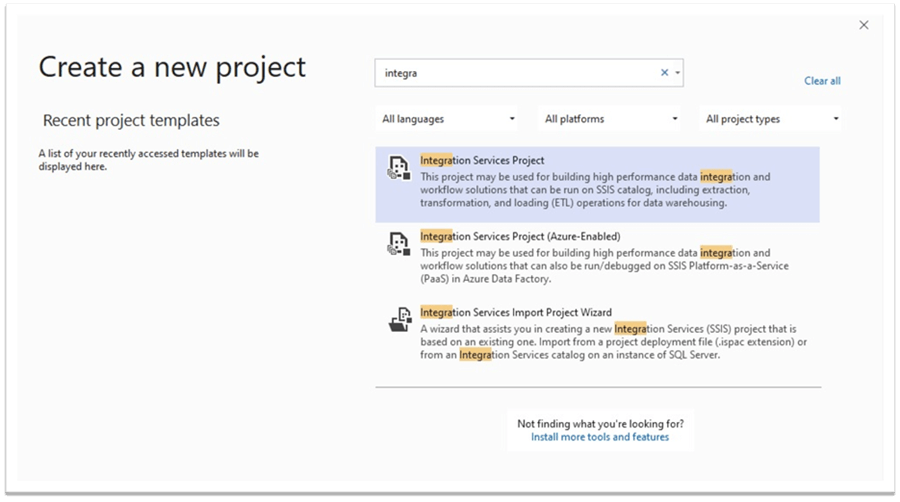
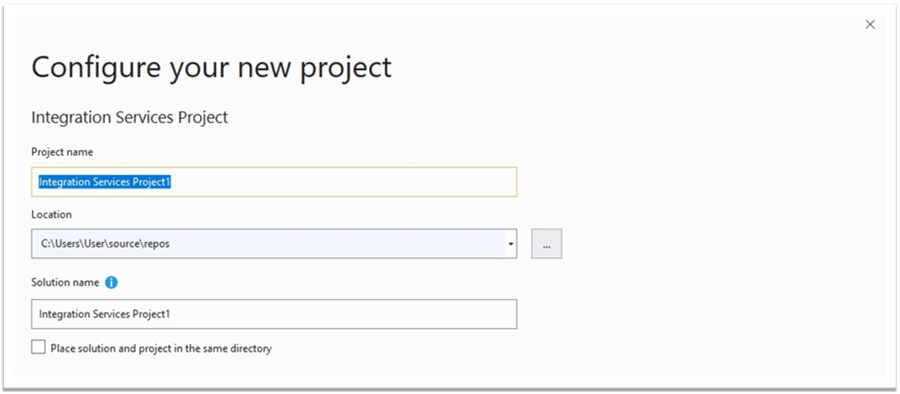
We choose a name for our project:
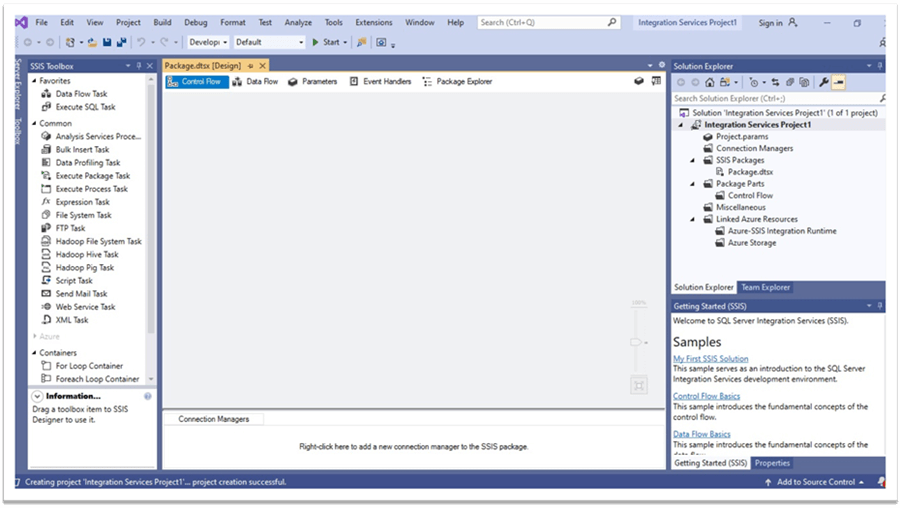
Hence, it is ready! We opened the interface where we can design and develop SSIS 2019 packages:
Conclusion
To sum up, we reviewed the updates related to the tool for SQL Server Integration Services projects development in the VS 2019. As we have seen, in this version of the VS, the tool for designing SSIS projects is installed as an extension of the Visual Studio. We have also explored how to install Visual Studio 2019 and how to add the Integration Services Projects extension to it.
Comments